Sunprint Kits
For Retailers
Home
About
Products
How it works
Activities
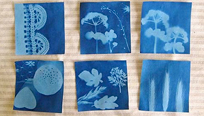
Gallery
Contact
Blog
Get inspired by Sunprint Kits
Buy Sunprint Kits Now
The Original Sunprint Kit
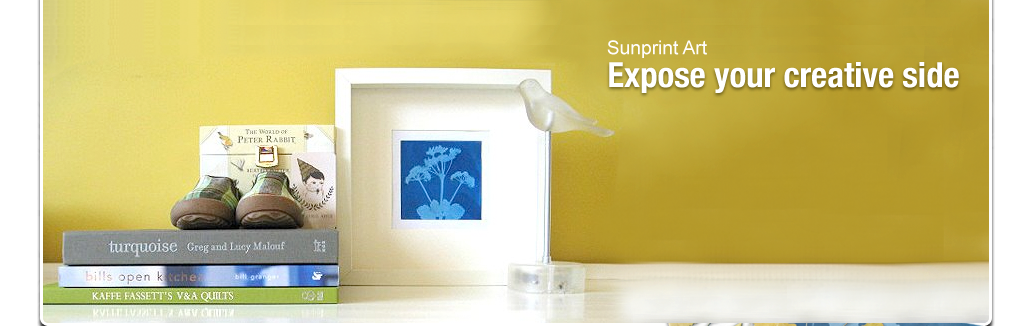
Art
Art with the power of the sun
Science
Sun-based science
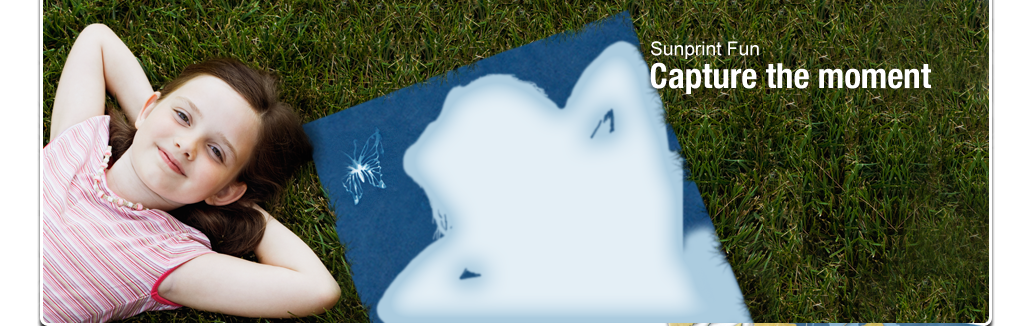
Fun
Classroom & group activities