How it Works
Sunprint Kits are as easy as 1, 2, 3!
How can you get the best results from your Sunprint Kits? What exactly is happening to the paper when you put it in sunlight and then into water? You’ll find the answers to these questions in the step-by-step walkthrough below.
How you can make your own Sunprint Kits
Sunprint Kits are easy! Just click through the instructions below to see how it all works. You can also download the PDF for the full walkthrough.
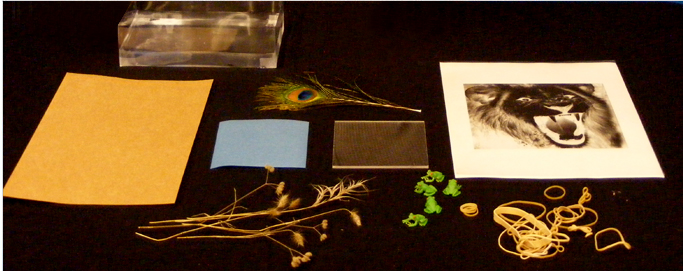
Step 1 – What you need
- Sunprint paper
- acrylic sheet
- cardboard
- a tub full of water
- fun and interesting objects to print

Step 2 – Arrange your objects on a piece of Sunprint paper out of the reach of the sun.
The blue molecules embedded in the paper are sensitive to ultra-violet light. For best results, prepare your print in a place where the sun’s light cannot reach the paper as you arrange objects on top of it. Direct sunlight will expose the paper quickly, but even ambient light in the shade, or in a room with a big window will cause slow exposure of the paper.
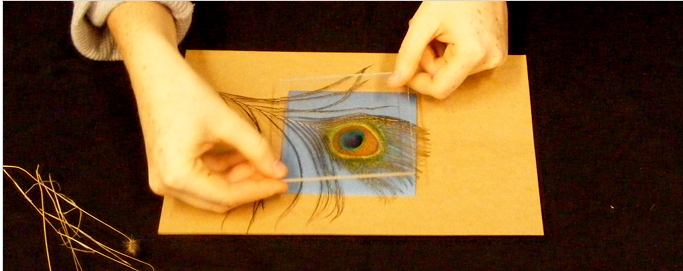
Step 3 – Place the acrylic pressing sheet on top to flatten and hold your items to the Sunprint paper
Use the acrylic pressing sheet when taking prints of flat or almost-flat objects to help sharpen the edges between blue and white in your final print. The ambient sunlight outdoors will find its way underneath the edges of your objects if they are not pressed firmly to the paper, and you will get Sunprint Kits with blended contrasts.

Step 4 – Take your Sunprint paper outside and lay it in direct sunlight for 2-5 minutes.
The areas of the paper exposed to the sun will fade from blue to white. When you see most of the color disappear from the paper, your print has been fully exposed. If no direct sunlight is available, don’t worry–just expose your print a little longer and wait for the same fading effect. Under cloud cover, the process will take 5-20 minutes depending on the thickness of the clouds.
What is happening in this step? Two crucial molecules in the paper are interacting, forming a new molecule. Their interaction is initiated by specific wavelengths of ultra-violet light. The new molecule is colorless so that as the blue molecules are converted, the white of the paper base begins to show through. Areas of the paper covered by your objects still contain the original blue molecule, so they remain blue.
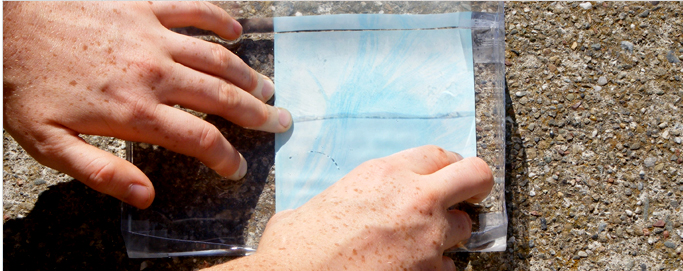
Step 5 – Rinse your Sunprint paper in water. Watch the white turn into blue and the blue turn into white.
To get the deepest blue that the paper can give, leave it in the water for a while: 1-5 minutes.
There are two exciting things happening to the paper while it is underwater. First, the original blue compound is water soluble, so that when you immerse it in the bath, the water carries it away, leaving only the white paper base in those areas. Second, the colorless compound whose formation was caused by the sun’s energy is not water soluble, so it cannot wash away in the water bath. It is sensitive to the water in another way. Just as the Sun’s light stimulated a chemical change in the previous step, the water stimulates another chemical change in this one. The water causes an oxidation reaction that turns the colorless compound into the deep blue of a finished print.
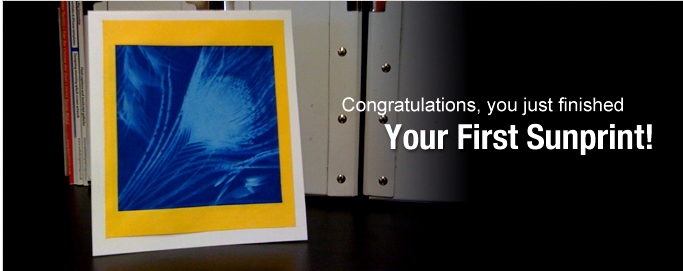
Step 6 – Lay your Sunprint paper flat on an absorbent surface and allow it to dry.
You can use a paper towel or a piece of cardboard as a bed for your print while it dries. Putting it on something absorbent will help to avoid the formation of water spots by drawing the water away from the Sunprint paper.
When you take your paper out of the water, the active chemical will not have finished oxidizing. The water remaining in the paper will do the job before it evaporates. By the time it is all gone you will have a beautiful, deep blue print!